How to Remove an Interior Wall
The process of removing an interior wall isn’t as complicated as you may think, as long as it is not load bearing. With the right tools and preparation, you can remove the wall in just a few steps. Be sure to gather the tools you will need before you begin, including any equipment rentals, so you don’t get stuck in the middle of the job. Follow these steps to fully remove an interior wall in your home.
Prepare the Wall
The first step is to prepare the wall for work. Start by shutting off the circuit breakers and removing all of the electrical plates and outlets. Shut off the water main if there are pipes in the wall. You will also need to remove any doors, trim, and baseboards that are on the wall. A flat bar is handy for removing the trim and baseboards. The last step in prepping the wall is to cut the paint and caulk between the wall and the ceiling. You should also make cuts between the wall and any adjacent walls you will not be removing. These cuts will prevent you from inadvertently removing drywall from the walls and ceiling you are leaving in place.
Cut into the Drywall
To start working on your drywall, first you have to punch holes in it using a framing hammer. Swing the hammer gently—it should easily break through the surface. If it doesn’t, then you are likely hitting a stud and need to move to a different portion of the wall. Next, use a reciprocating saw to cut the drywall. Remove it in sections until the drywall on both sides of the wall is completely gone.
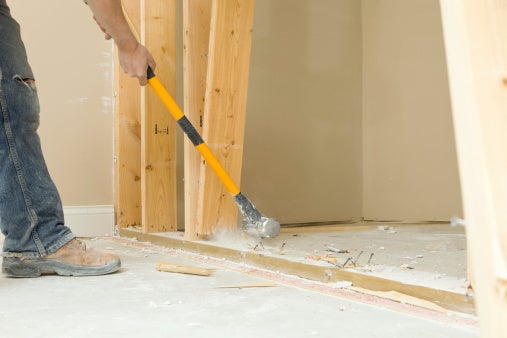
Remove the Studs
The studs and beams should be clearly exposed now. Cut through each stud, and then slowly remove each one. Repeat the process until you have removed all of the studs and any leftover debris.
From framer hammers to reciprocating saws, A Tool Shed has all of the equipment rentals you need for every home improvement project. Call us today at (800) 286-6574 to rent tools in San Jose.